
The Beartropy Starter Kit is not just a template; it is an opinionated reference architecture for building modern applications with Laravel 12, Livewire 3, and the Beartropy Ecosystem (UI & Tables).
This guide explores its structure, design decisions, and how to leverage its advanced developer experience (DX) features.
🖼️ Previews
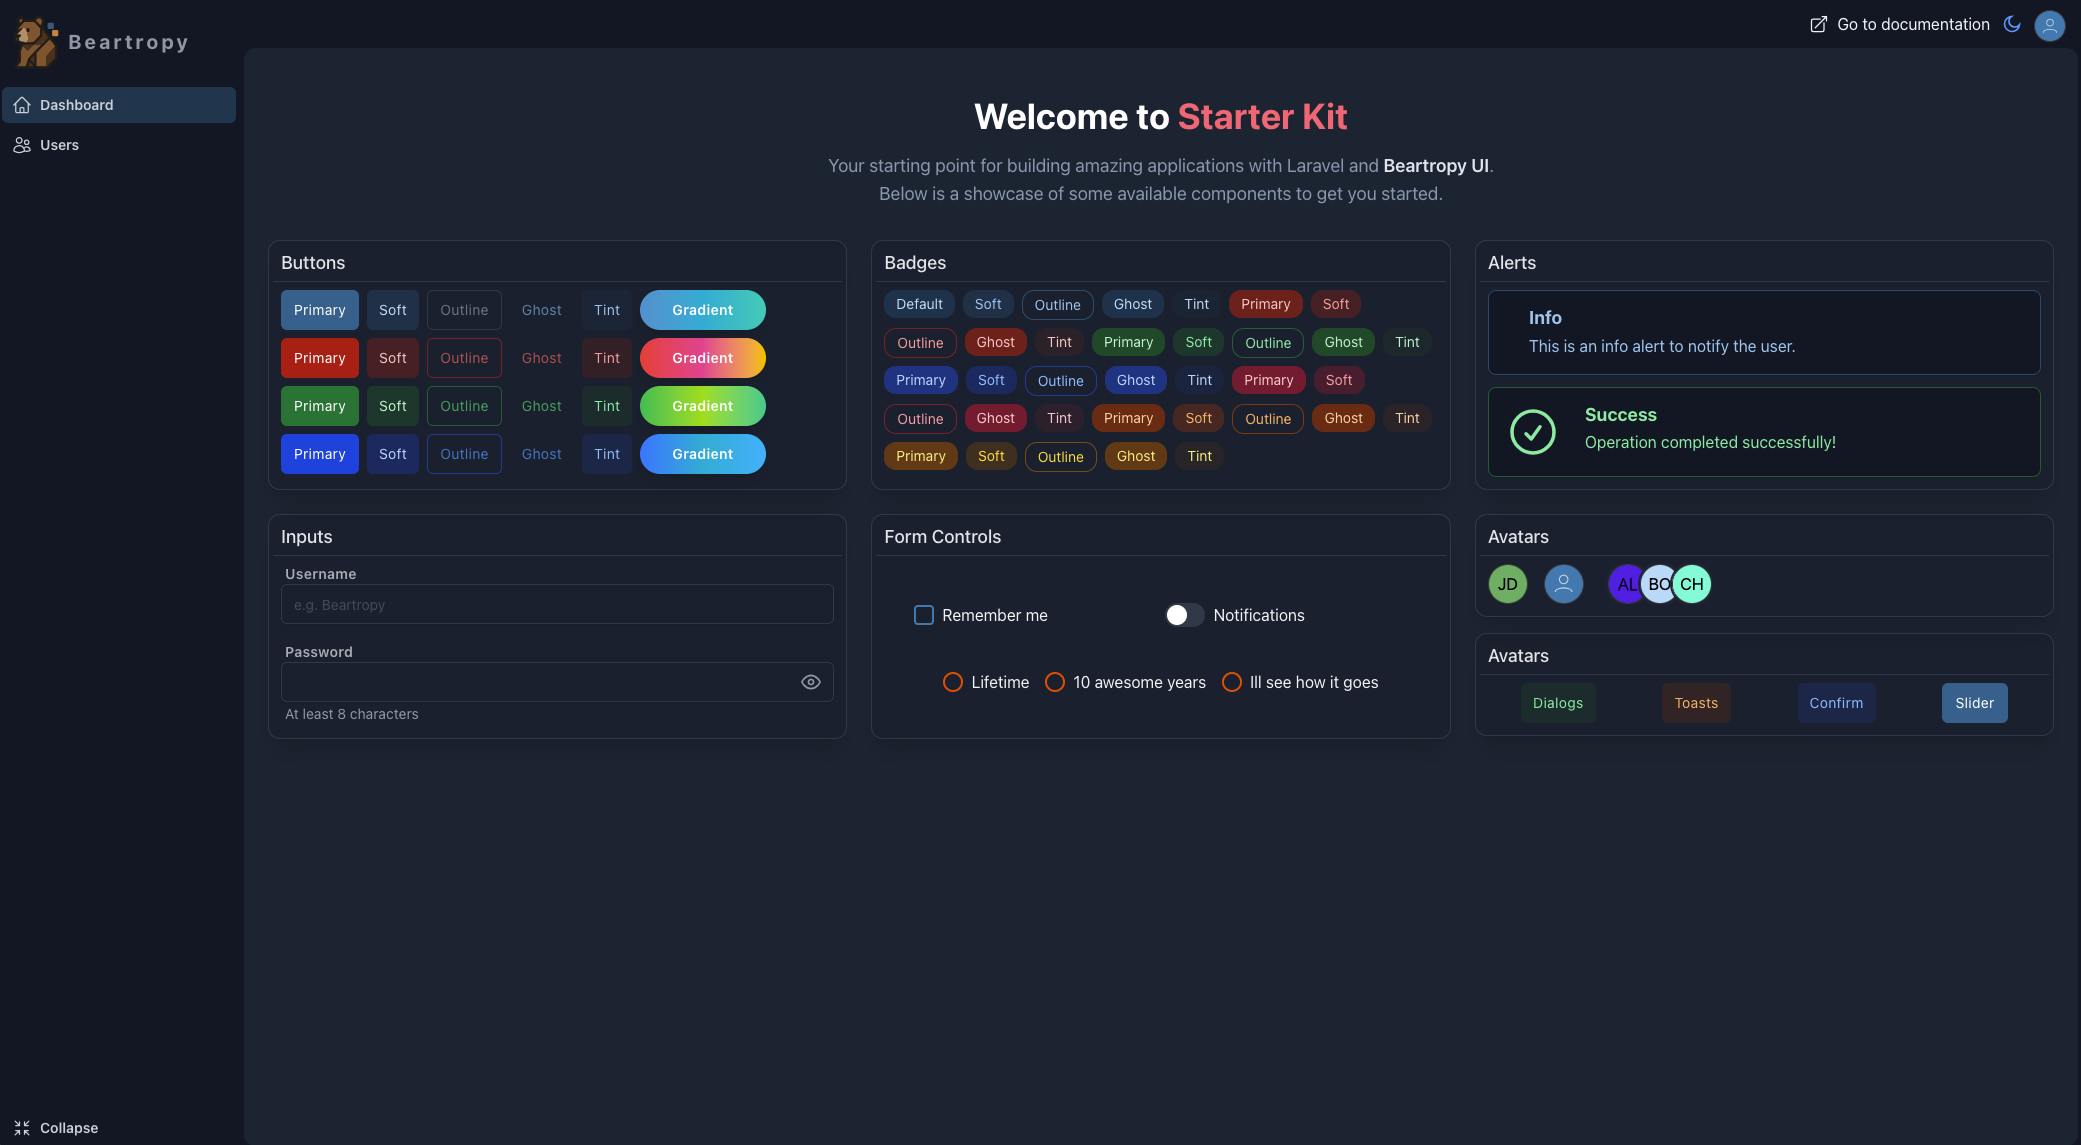
See all previews for desktop and mobile
🚀 Quick Installation
To start a new project, run the following command:
1laravel new my-app --using=beartropy/starter-kitThe post-create-project-cmd script will automatically configure your environment (.env, key generation, migrations, and npm build).
To start the "All-in-One" development server:
1composer dev🗺️ Project Anatomy
Unlike a standard installation, this kit includes an organized folder structure tailored for "Dashboard" type applications.
1/ 2├── app/ 3│ ├── Http/Controllers/AuthController.php ← Transparent Authentication 4│ └── Livewire/ 5│ └── UsersTable.php ← Full Beartropy Tables Example 6├── resources/ 7│ ├── views/ 8│ │ ├── components/ 9│ │ │ ├── layouts/10│ │ │ │ └── app.blade.php ← Main Layout with Alpine.js state11│ │ │ ├── sidebar.blade.php ← Responsive Sidebar12│ │ │ └── ...13│ │ └── dashboard.blade.php ← Authenticated Dashboard View14├── vite.config.js ← Tailwind 4 Configuration15└── composer.json ← DX Scripts🔍 Component Deep Dive
1. Tailwind CSS v4 (Zero Config)
The kit adopts Tailwind CSS v4.0 from day one. Say goodbye to tailwind.config.js; everything is handled via the Vite plugin.
vite.config.js
1import { defineConfig } from 'vite'; 2import laravel from 'laravel-vite-plugin'; 3import tailwindcss from '@tailwindcss/vite'; // <--- The future is here 4 5export default defineConfig({ 6 plugins: [ 7 laravel({ 8 input: ['resources/css/app.css', 'resources/js/app.js'], 9 refresh: true,10 }),11 tailwindcss(), // <--- Zero config12 ],13});2. "Battery-Included" Layout
The main layout is not just HTML; it is a reactive structure using Alpine.js to handle UI state (mobile/desktop sidebar) and global components.
resources/views/components/layouts/app.blade.php
1<body class="bg-app-shell text-slate-900 dark:text-slate-100"> 2 3 <div x-data="{ 4 isDesktop: window.innerWidth >= 768, 5 sidebarOpen: window.innerWidth >= 768 6 }" @resize.window="isDesktop = window.innerWidth >= 768" class="flex h-full"> 7 8 9 <template x-if="isDesktop">10 <div class="contents">11 @include('components.sidebar')12 </div>13 </template>14 15 16 <main class="...">17 {{ $slot }}18 </main>19 </div>20 21 22 <x-bt-toast />23 <x-bt-dialog />24</body>3. Beartropy Tables: The Master Class
The app/Livewire/UsersTable.php file is a masterclass on how to use beartropy/tables. It demonstrates how to build complex data interfaces with minimal code.
Settings Configuration:
1public function settings(): void 2{ 3 $this->setTitle('Users table'); 4 $this->hasBulk(true); 5 6 // Action buttons in the header 7 $this->addButtons([ 8 ["label" => 'Create new user', "action" => "openModalCreate", "color" => "emerald"] 9 ]);10 11 $this->setModalsView('livewire.userstable-slider-modal');12}Column Definitions:
1public function columns(): array 2{ 3 return [ 4 Column::make('Id', 'id')->pushLeft(), 5 6 Column::make('Name', 'name')->cardTitle(), // Used as title in Mobile view 7 8 Column::make('Email', 'email')->showOnCard(), 9 10 // Custom HTML Column with Livewire Actions11 Column::make('#')->customData(function ($row) {12 return '<div wire:click="slide(' . $row->id . ')">Edit</div>';13 })->toHtml()->pushRight()14 ];15}4. Superior Developer Experience
We created custom commands to improve your workflow. The dev command runs Laravel, Queues, Logs (Pail), and Vite in parallel.
composer.json
1"dev": [2 "Composer\\Config::disableProcessTimeout",3 "npx concurrently -c \"#93c5fd,#c4b5fd,#fb7185,#fdba74\" \"php artisan serve\" \"php artisan queue:listen --tries=1\" \"php artisan pail --timeout=0\" \"npm run dev\" --names=server,queue,logs,vite --kill-others"4]Just run composer dev and watch your terminal come to life.
💡 Usage Tips
- Extend the Sidebar: Edit
resources/views/components/menu.blade.phpto add your navigation links. - Create New Tables: Duplicate
UsersTable.phpand adjust the model and columns to bootstrap crud interfaces quickly. - Customize the Layout: The
app.blade.phpfile is yours. Feel free to add analytics scripts or change the structure directly.
Tags
Comments
Leave a comment
No comments yet. Be the first to share your thoughts!